How to document and explain your IBS for the best medical care.
The Unlazy Days of Summer, Volume 3: Making Shadowbox Bookshelves, Part 1
July 8, 2013
On my Unlazy Days of Summer to do list, one of my big projects is figuring out what to do with all of the books in my daughter’s room. She is an avid reader and loves her books so much so that the thought of donating those she had read is too much for her to bear. She will read them over and over again, and keep them in piles all over her room. I do have proper shelving in there, but as her collection grows and no donations are made, there are fewer places to store them. We have put them on her night table, on top of her dresser, and even in her closet, but they make the room look cluttered and that doesn’t work for me. So I thought if I could get the books off of the counter tops and into their own space, while not taking up any more floor space (the floor is for doll houses, doll cribs, doll beds, and doll tables, but that’s a different item on the list to be checked off at a later date), we would both be happy. I came up with an idea of open shadow boxes on her walls and shopped for them, but none were the size I was looking for and most were expensive. I figured, if I can’t find what I’m looking for, then make what I’m looking for! I wanted an open box with a frame on the front so the box was both functional and fun. So I set out to buy lumber and frames.
I wanted to make five of these box frames in order to have enough space for books, and maybe a little extra for her knickknacks and trophies. I went to Home Depot for the lumber and picked up five 8-foot pieces of primed 1″x3 1/2″ wood. Since I didn’t have the frames yet, I also didn’t have their measurements. I figured the opening wouldn’t be bigger than 16″x20″ and an 8-foot piece would be more than enough for one frame. It’s always good to have extra, especially if this is a first-time project (which it is) and the items are returnable (which they are). I stopped in the hardware aisle and picked up wood screws and picture hangers for my assembly.
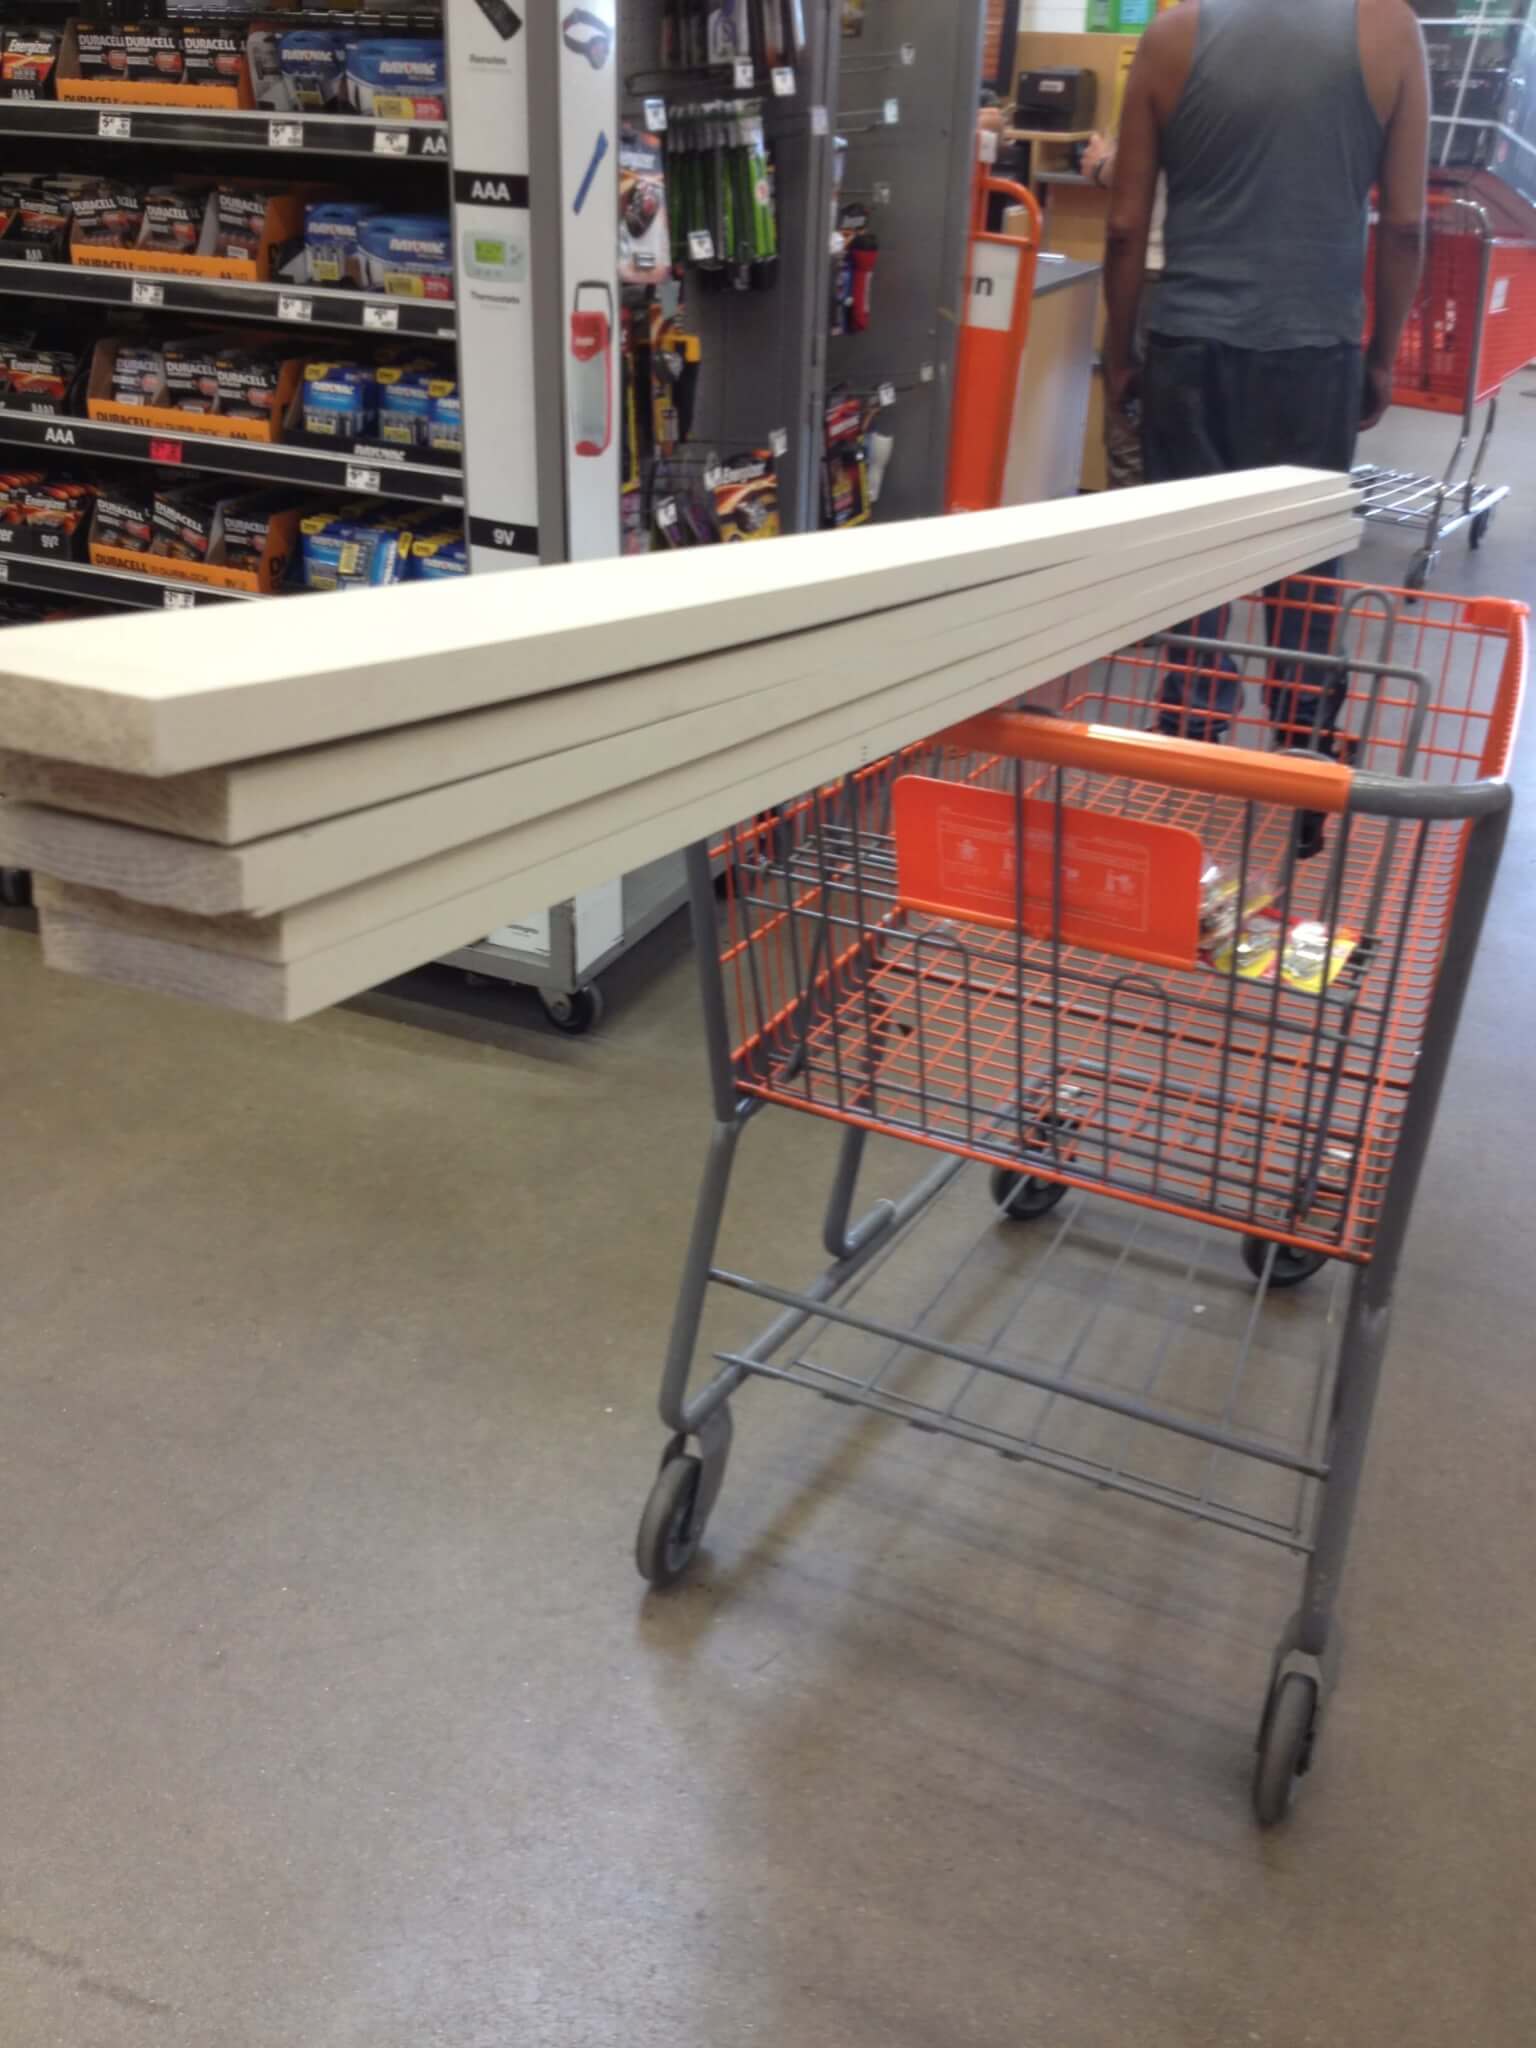
Boy, the looks I got walking through Home Depot with this in my cart!
Then it was off to Michael’s craft store to purchase open-back frames. Usually, they have a large supply, and often, they are on sale. This trip, I was 0 for 2; few frames, no sale. Disappointed, I thought I would go to a different location the next day and decided to check out the clearance section while I was there. I love the clearance section; sometimes there are items I can use, and sometimes, I am inspired by something that I find. This time, I hit the jackpot! I found flat, open frames for $2.99 a piece! Quickly, I bought 10 of them (see rules to shopping above). I had all the supplies I needed for my project. I was ready to start. Just one problem left to solve: I was afraid of my table saw. How was I going to cut the lumber into the pieces I needed? Enter “Super Woodworking Man” (who happens to be the husband of one of my crafty friends): Mike Pekovich of Pekovich Woodworks. He offered to make the cuts for me, but once he understood the project he thought it would be fun to do it together, so I headed over to his shop on Sunday morning.
We measured the insides of the frames to determine our cuts and discussed the use of biscuits over screws for assembly. Biscuits are compressed wood discs that swell when the glue is applied to them. They are fitted into grooves, made by a biscuit cutter, to join wood at a joint. Mike was impressed that I knew what a biscuit was (and not the kind you use to sop up gravy – gluten free, of course) so I went with the biscuit so I could use the cutter.
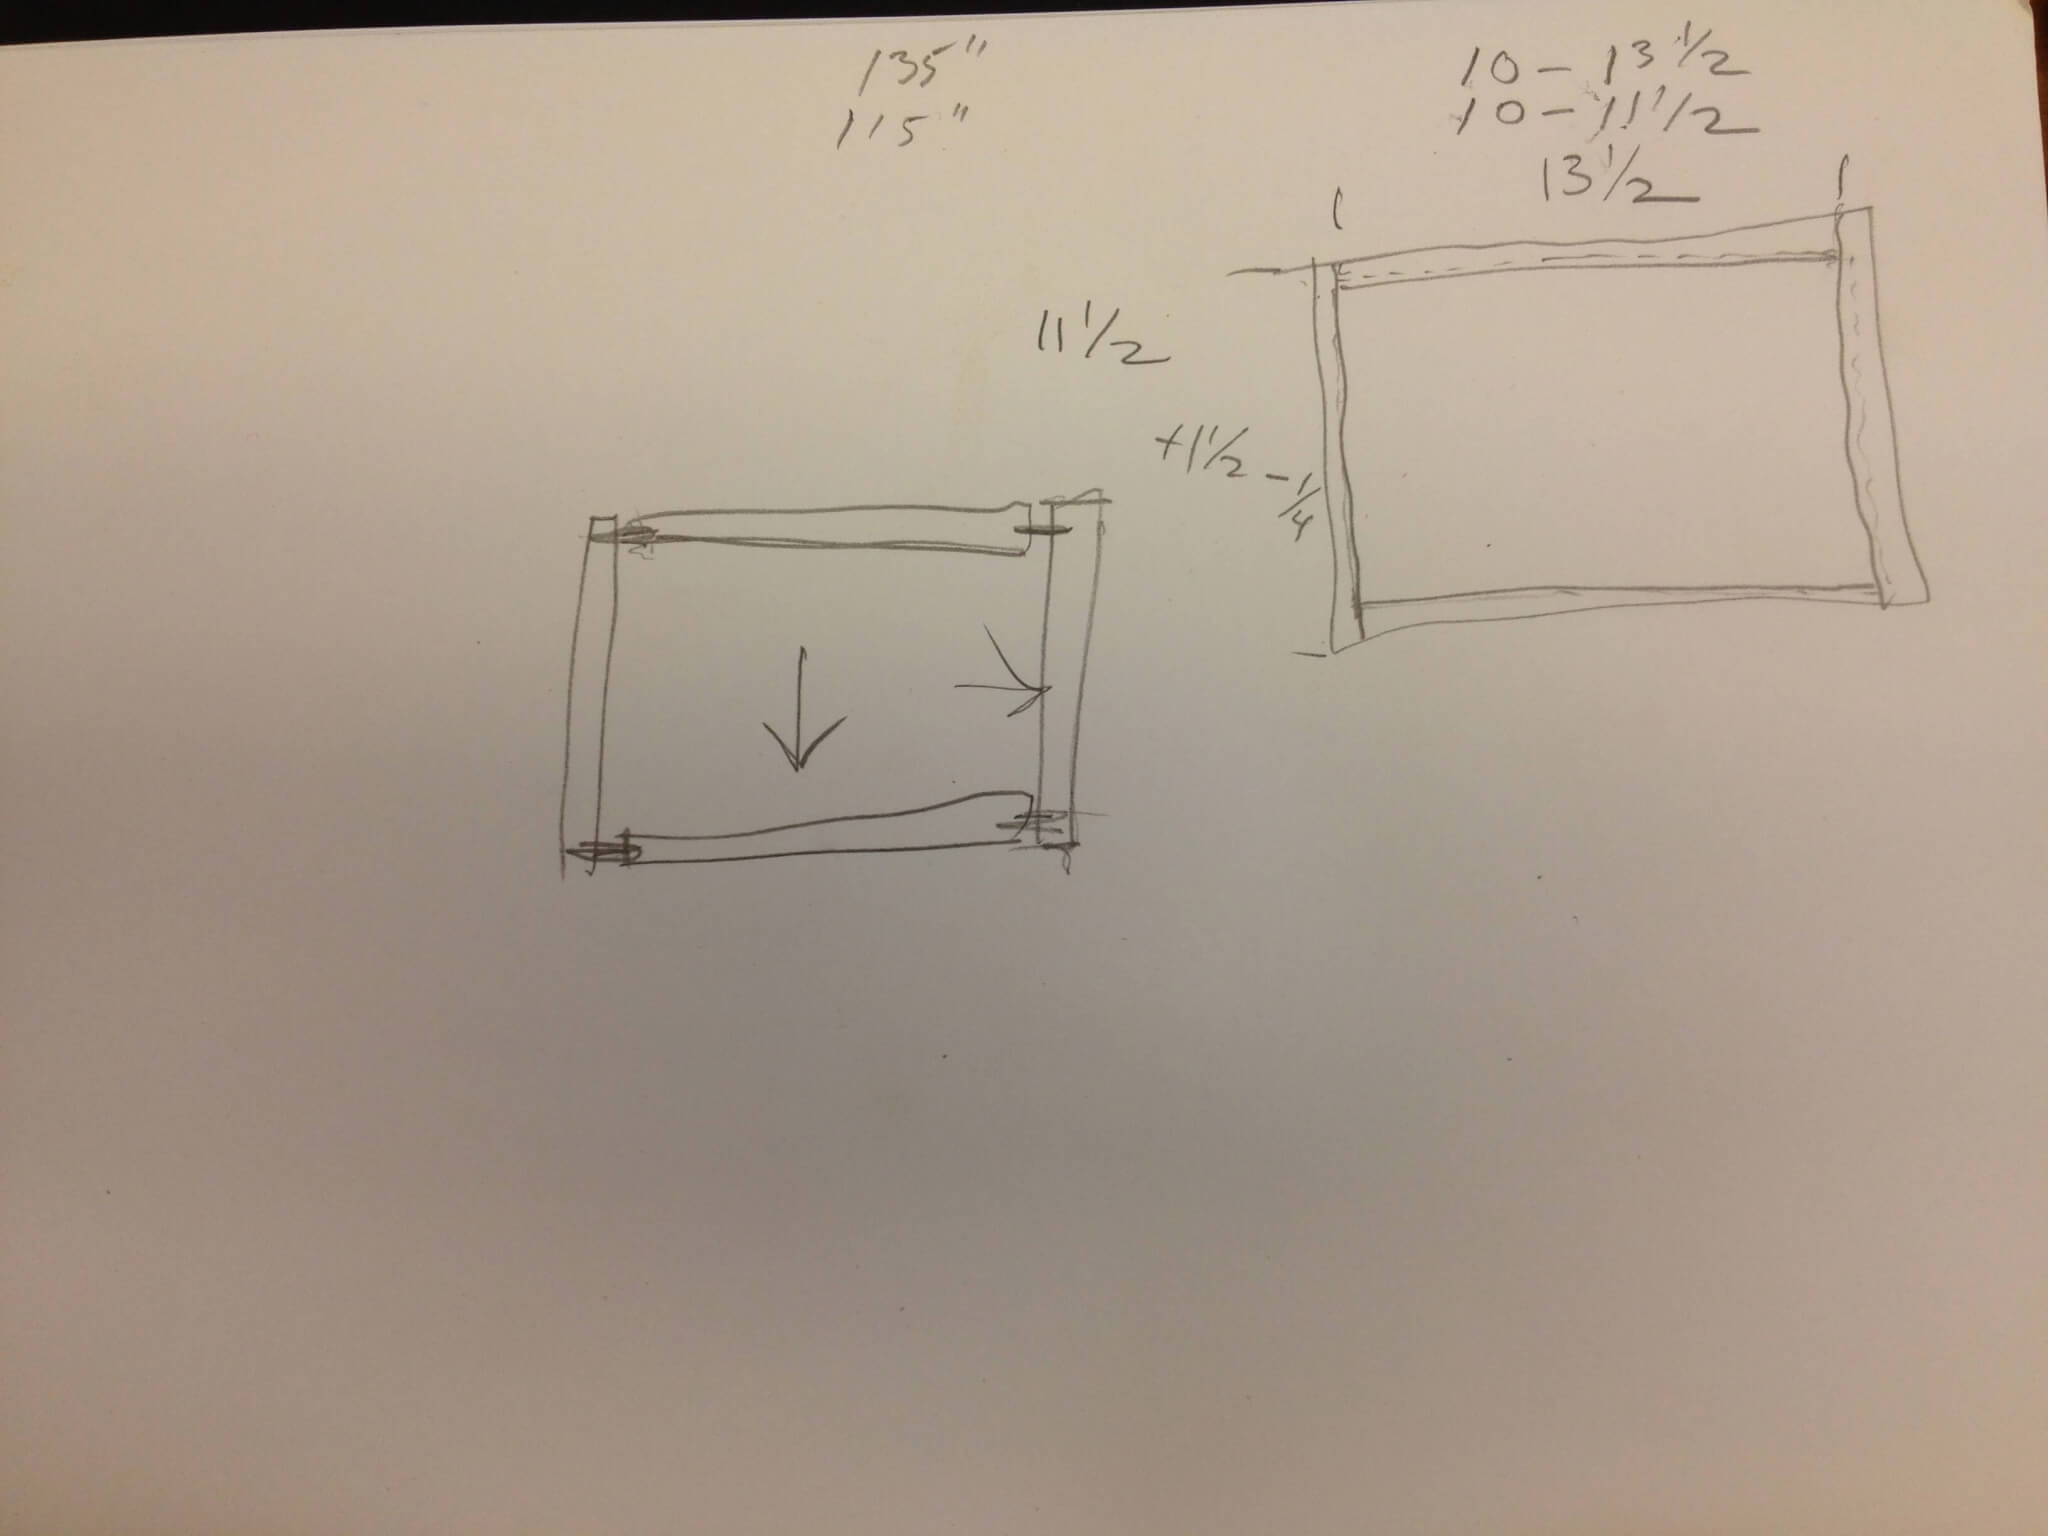
The plan: How long the pieces need to be (R) and where the biscuits would go (L).
Did you know that crafting is my hobby, but my expertise is as a Registered Dietitian specializing in gut health?
If you want to learn more about gut health and how the low-FODMAP can help, I have a free video training that explains 3 Strategies for Success with the Low-FODMAP Diet. You can click here to get instant access to this training, which can be very helpful to understand more of the why behind this specific diet for people with gut health issues.
But first, we had to cut the lumber down to size. We started with a chop saw (or miter saw) to make the pieces more manageable and then moved over to the table saw. I’m afraid of the table saw. I own one. I’ve used it. But, I am still afraid that I will nick my wrist and bleed out, or worse, lose a finger. I shiver at the thought. But Mike made the saw safe. We used a guide, and he even attached a clamp to it because my fingers weren’t long enough to reach over the guide and the wood to hold it down correctly. Next, I put on my safety goggles and got cutting! Oh, something I learned from all of this cutting: Don’t wear a low cut tank top, even in a heat wave. I was picking sawdust out from under my shirt (and out of my bra!) for the rest of the day.
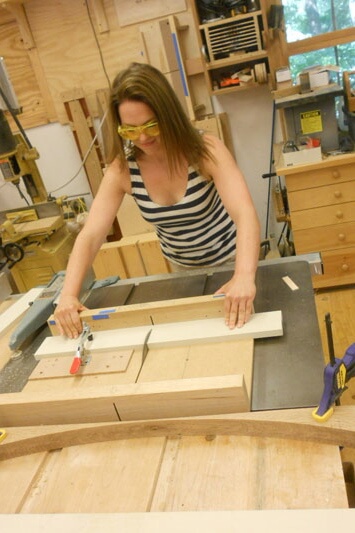
Cutting wood with the help of a guide and a clamp.
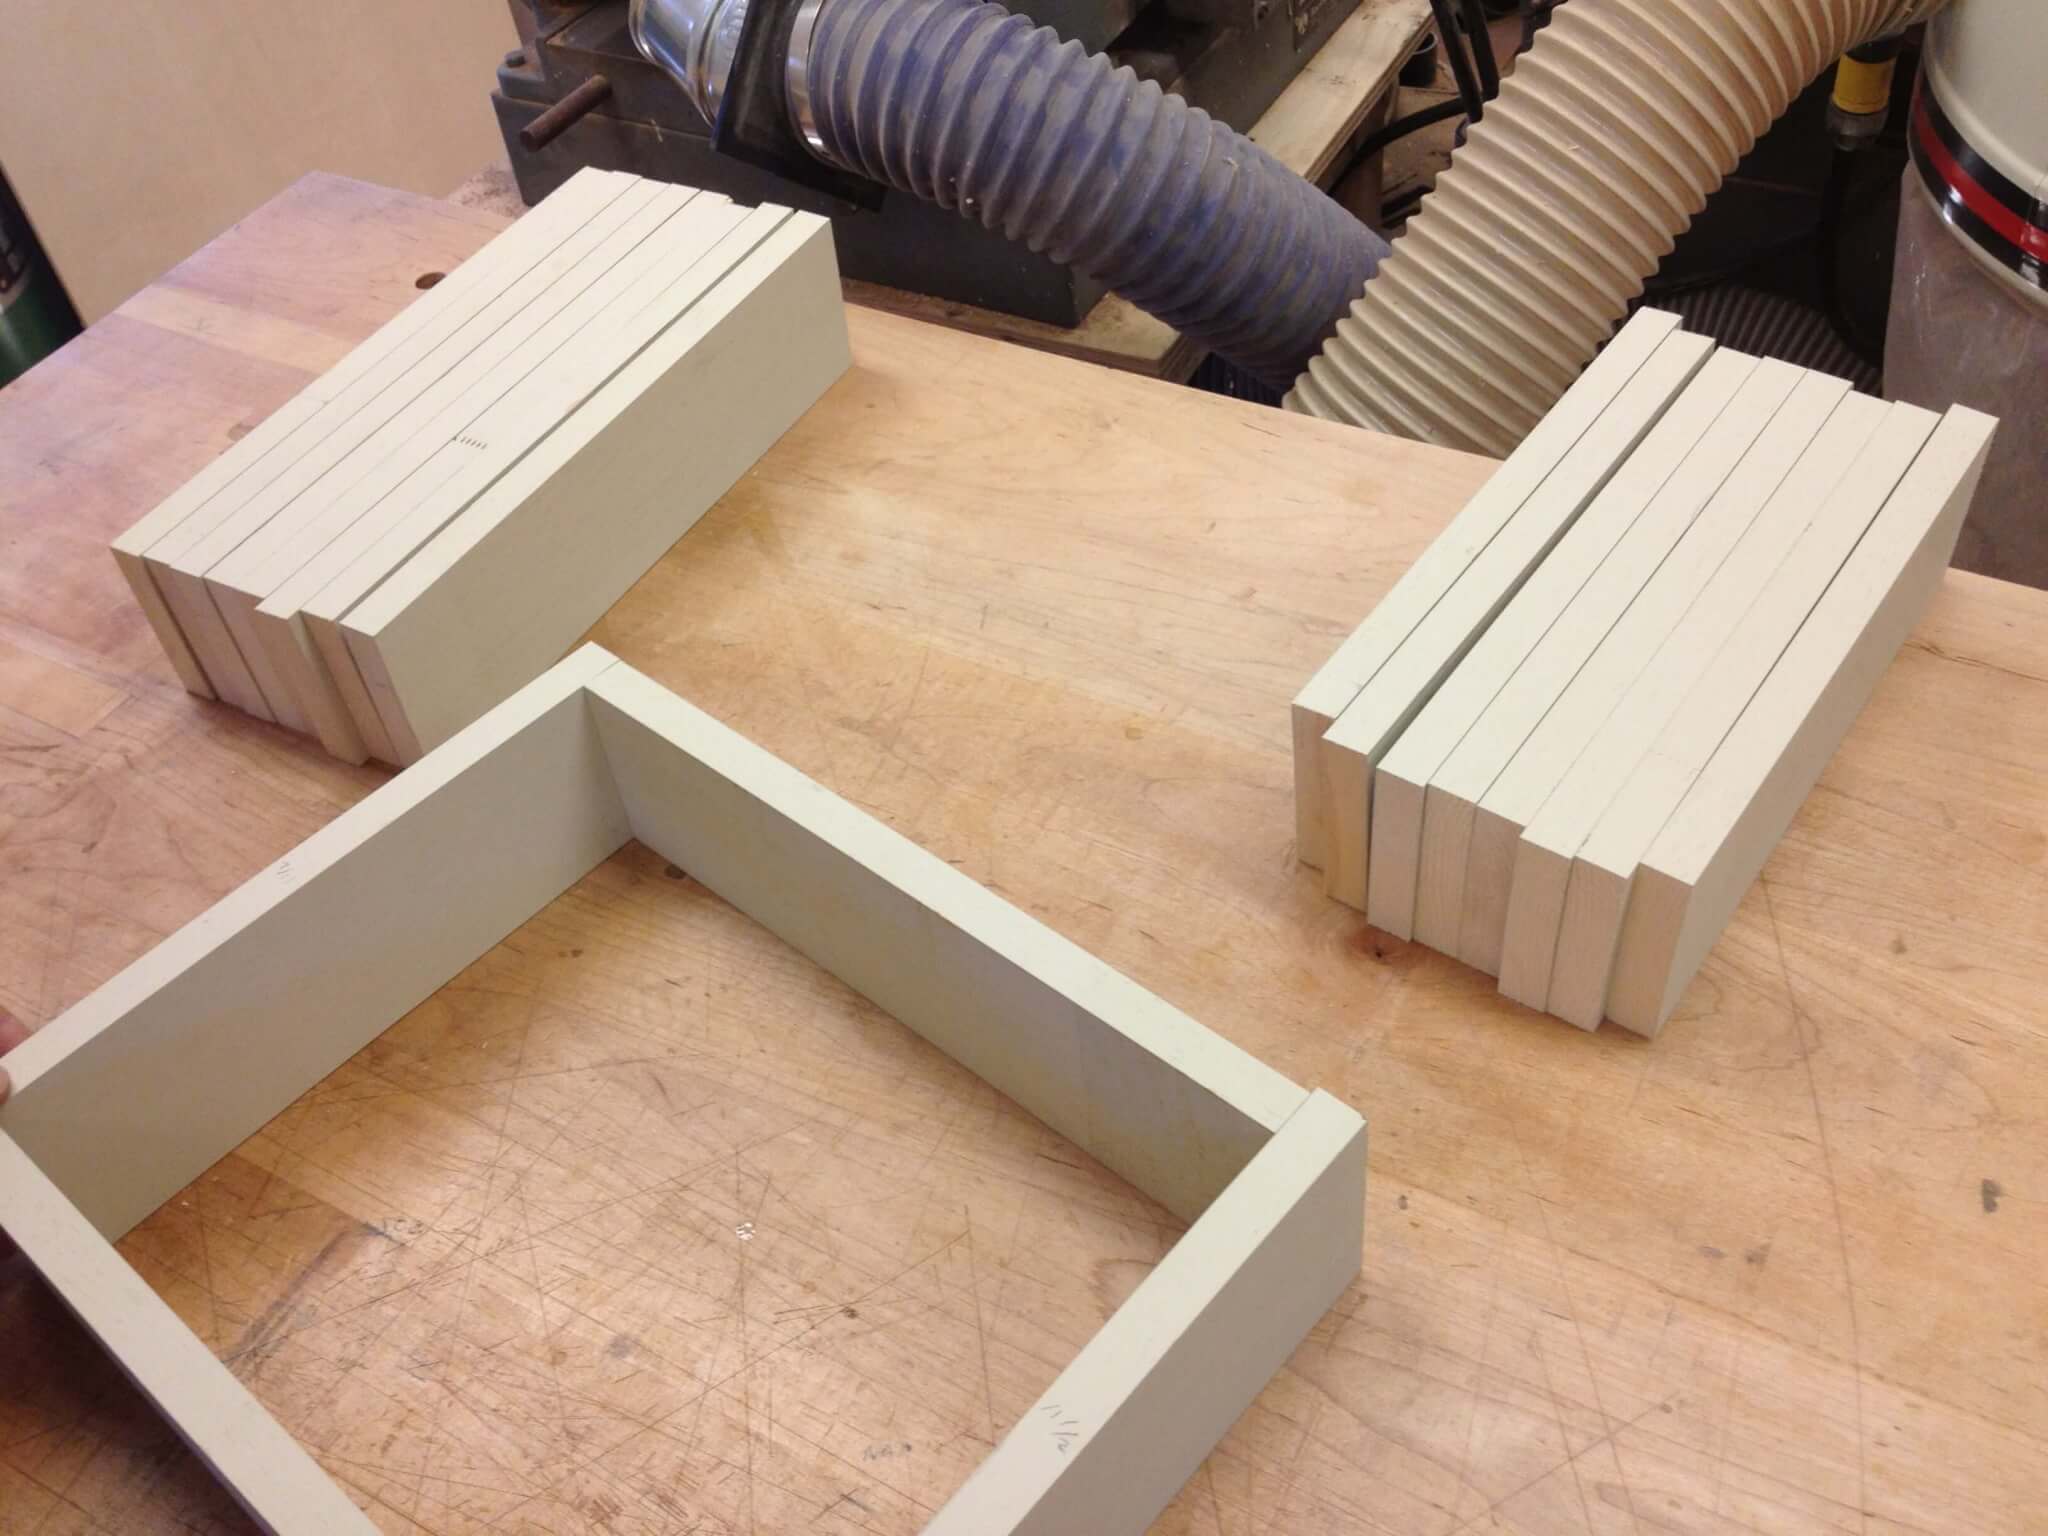
All the cuts are made!
Next, it was time to use the biscuit cutter. But, before cutting, Mike taught me about the cabinet maker’s triangle. If you draw a triangle on your parallel pairs of wood in the rectangle, it will help to reassemble those pairs with the outer plane of the wood always facing out. This way, all biscuit cuts would be made on the correct side (inner plane).
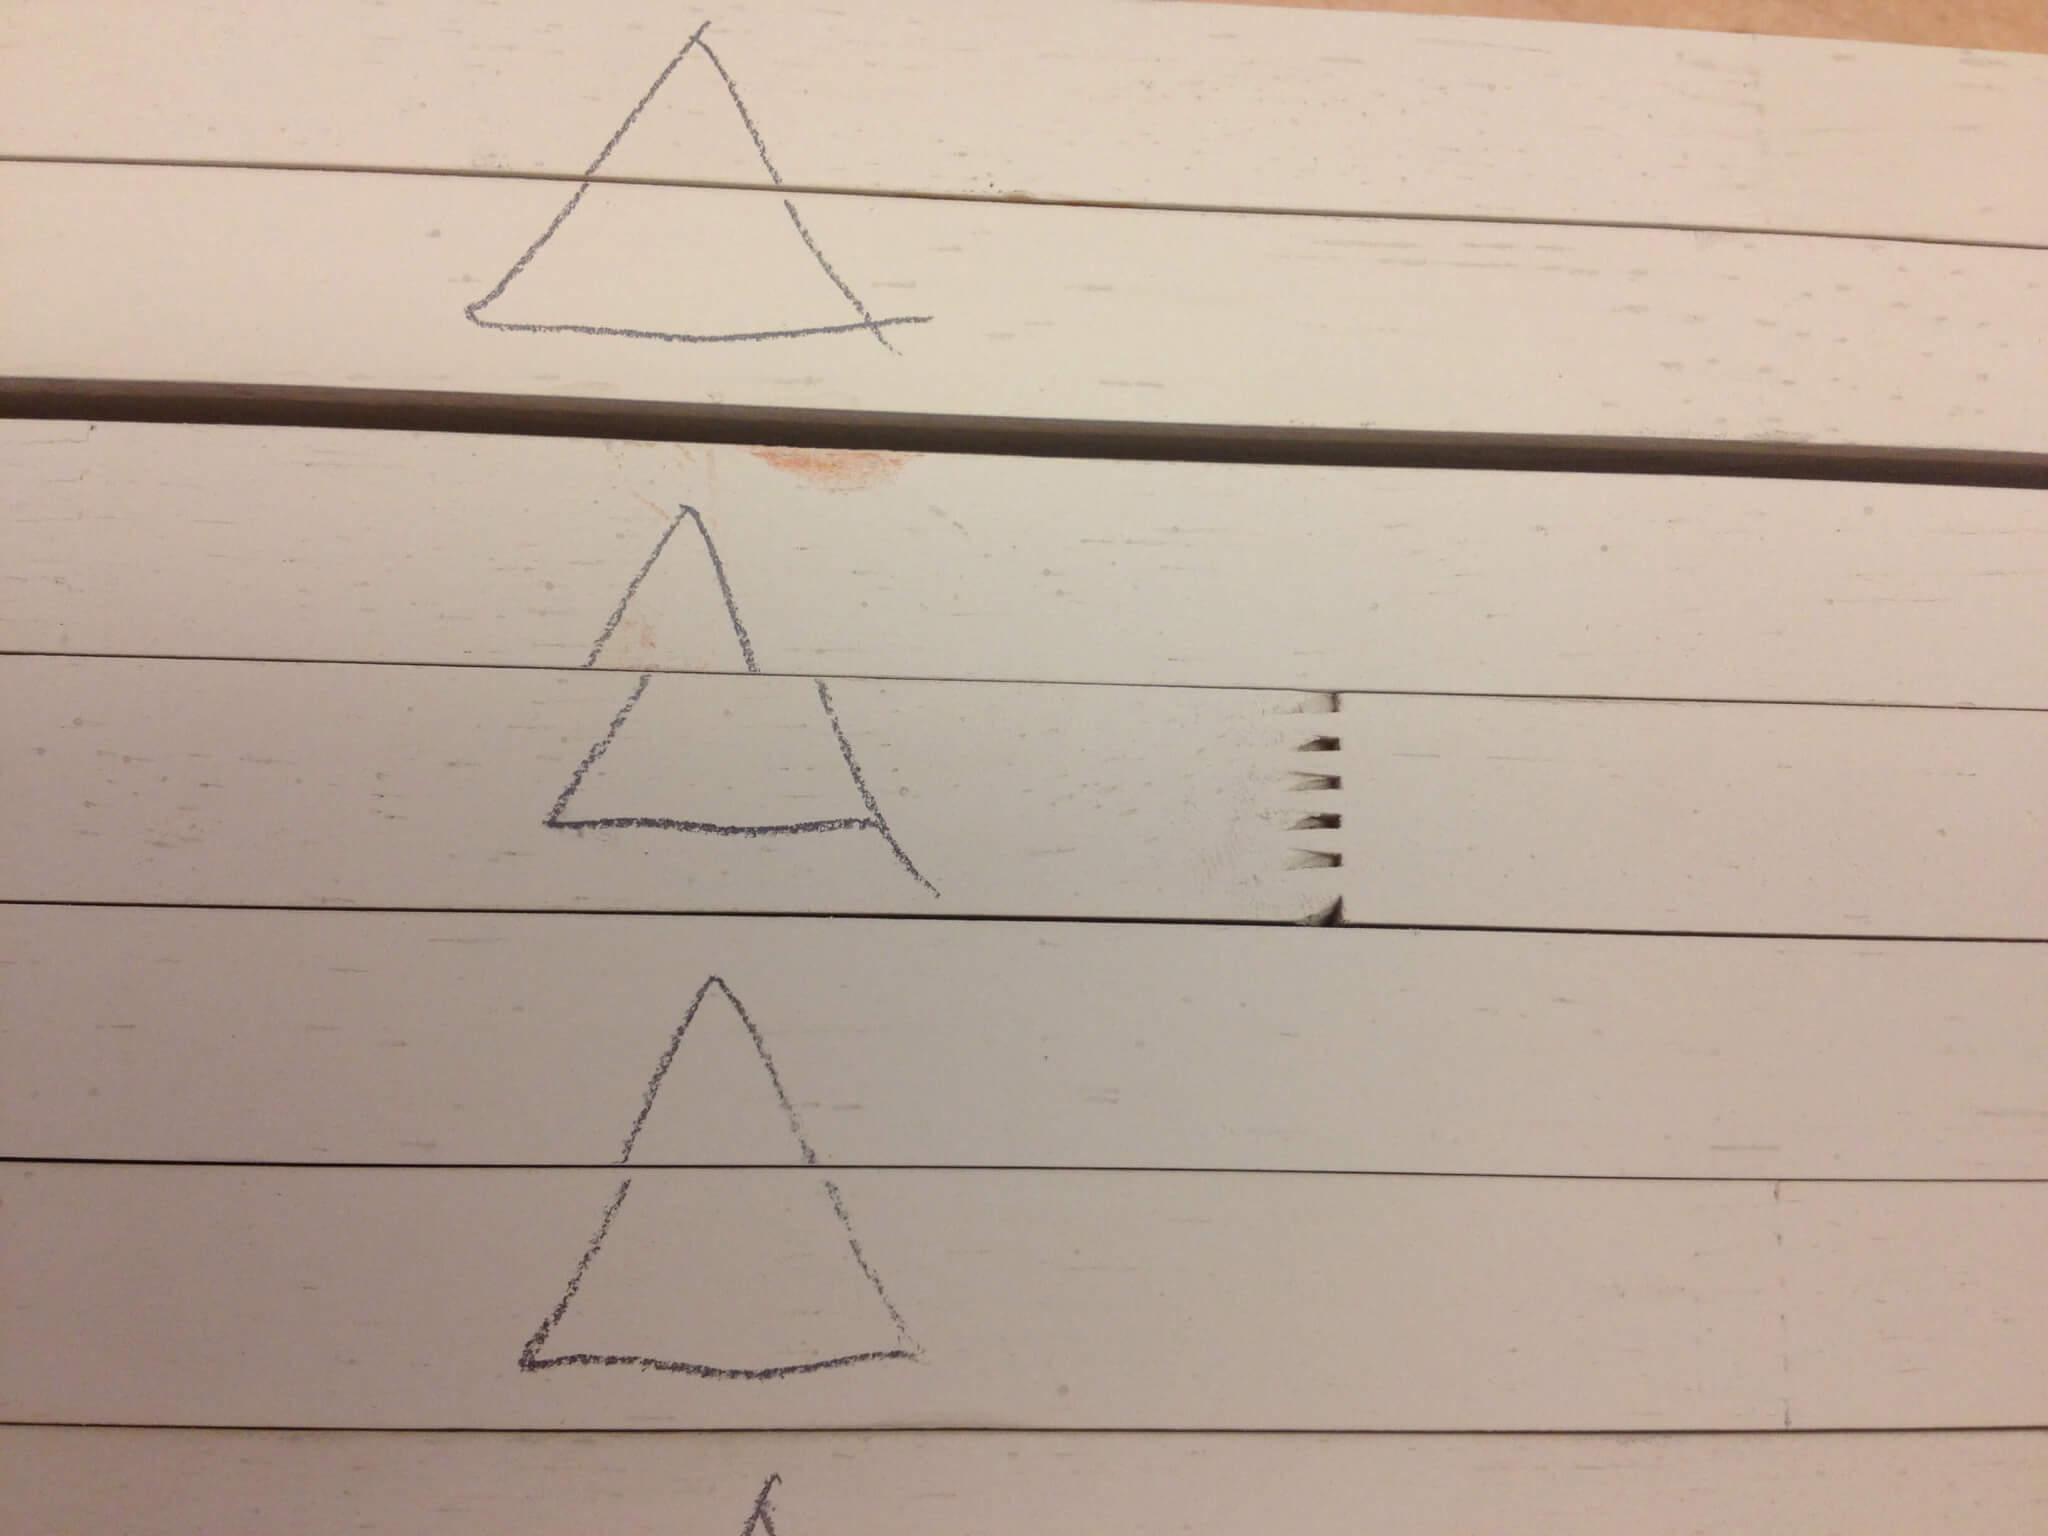
Cabinet maker’s triangle. The outer planes are the sides with the bottom of the triangle and the point of the triangle. The open parts of the triangle are the inner planes.
Time for biscuit cutting. Mike rigged the tool to the workbench so that the process would go quickly. It went so quickly that I didn’t get a picture of it, but here is the finished biscuit cut:
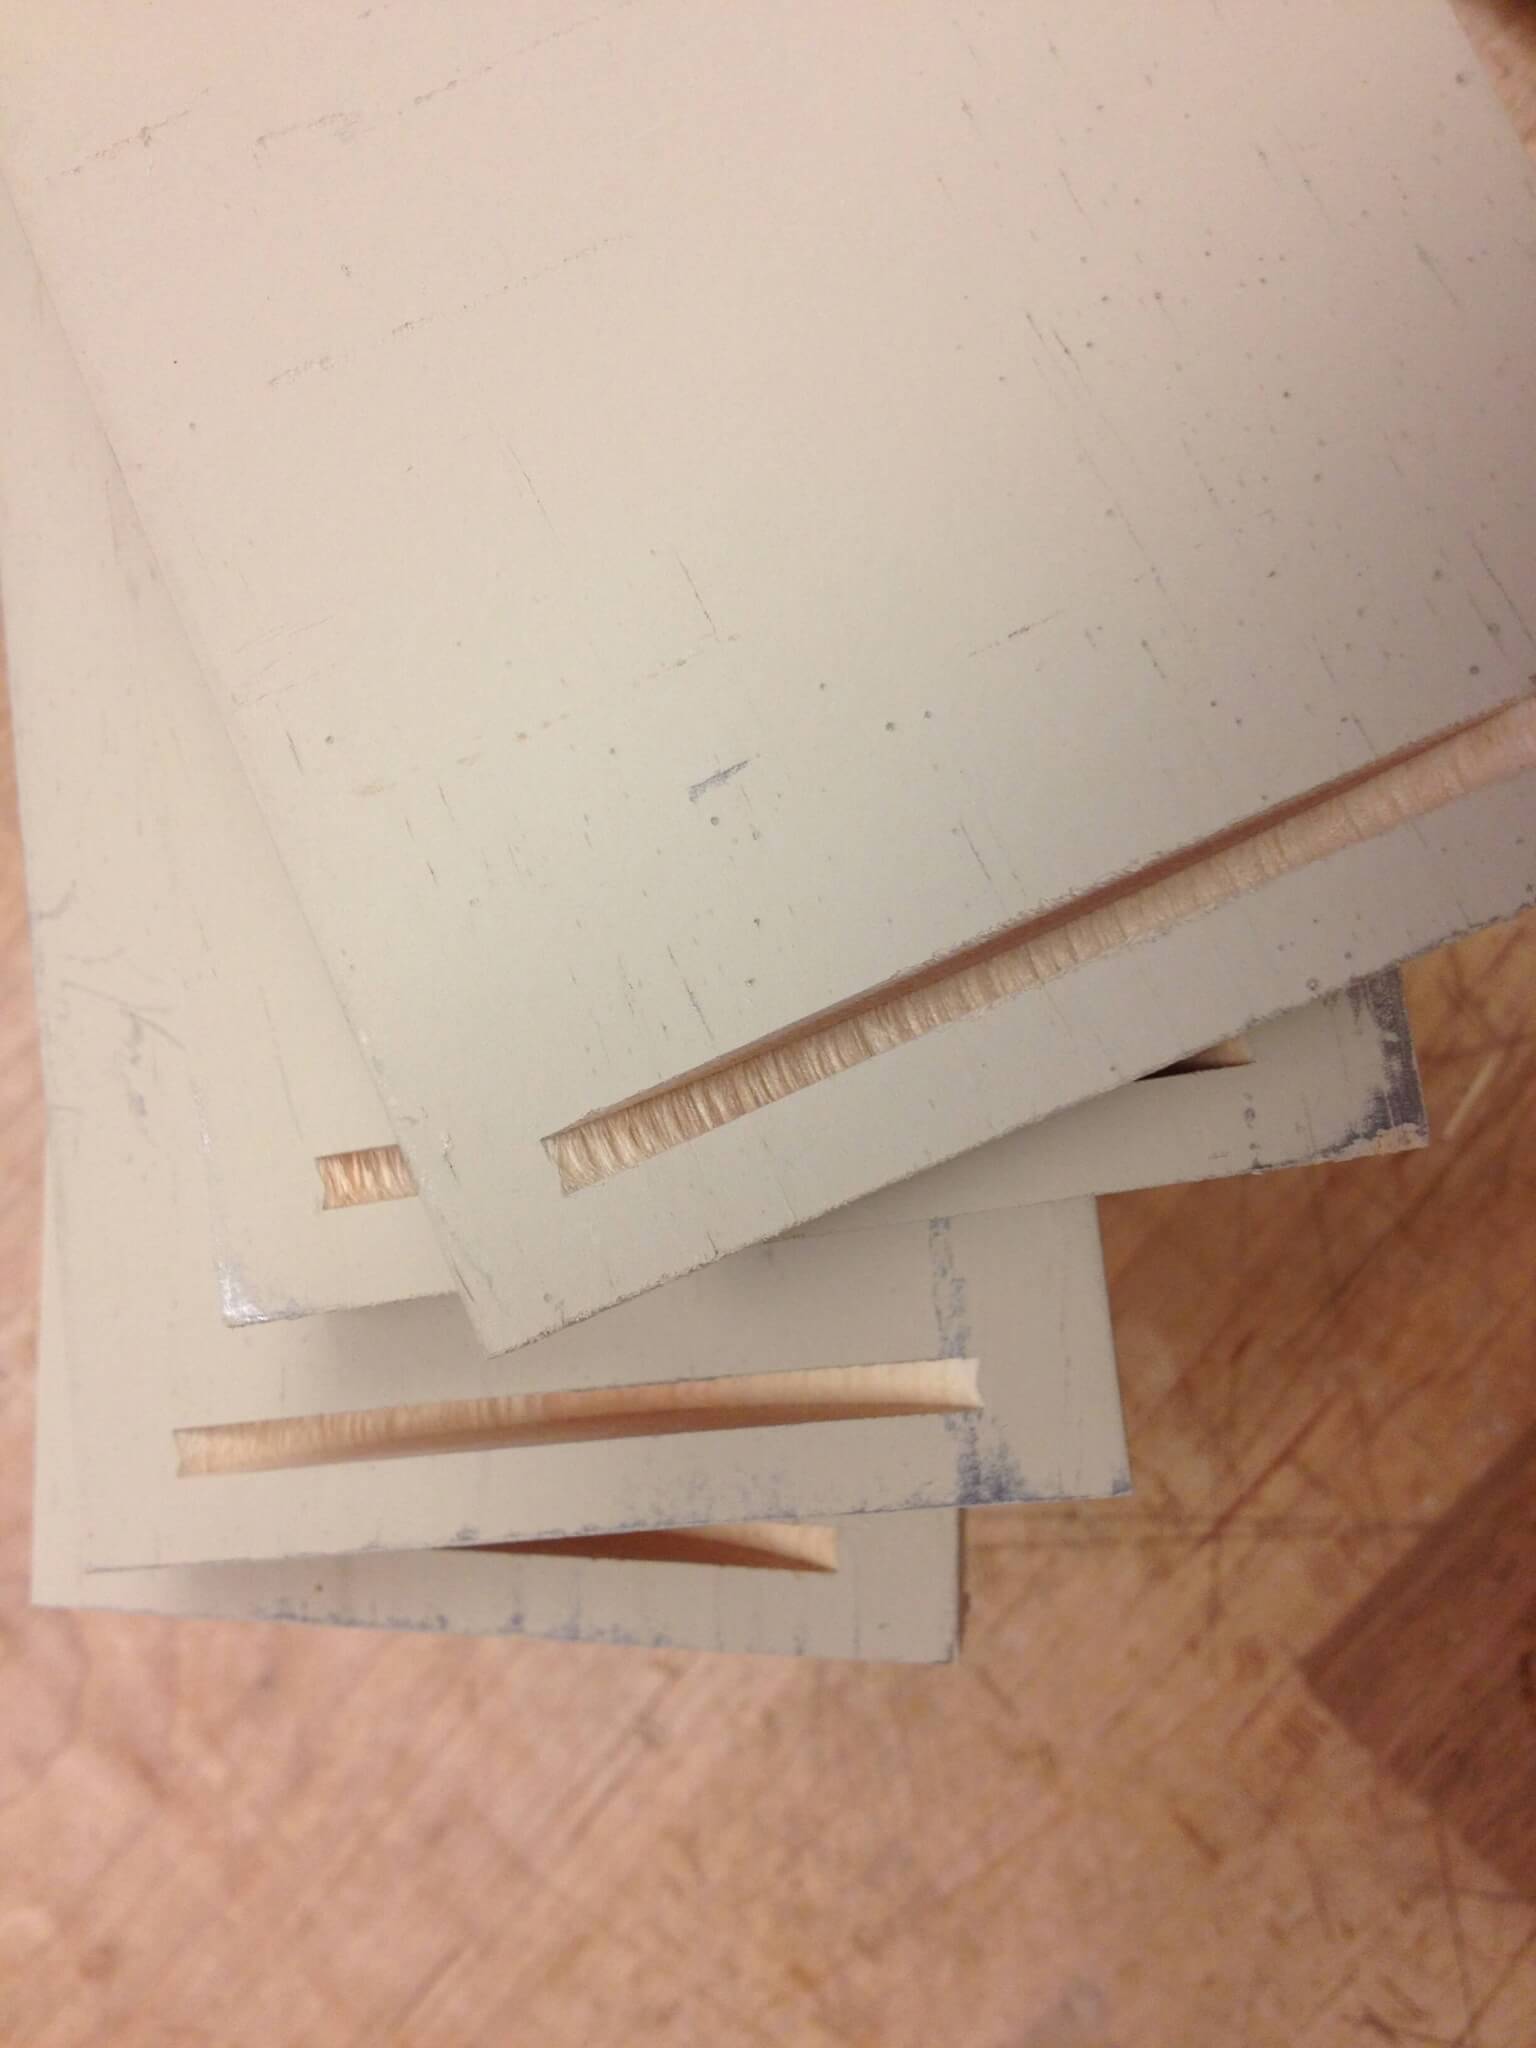
Biscuit cuts
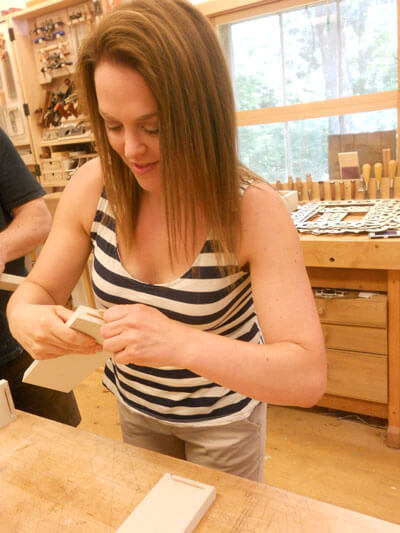
Once all of the cuts were made, it was time to assemble. We lined up our cabinet maker’s triangles and arranged our pieces into a rectangle. Then we added glue to the grooves, inserted the biscuits, and joined the joints:
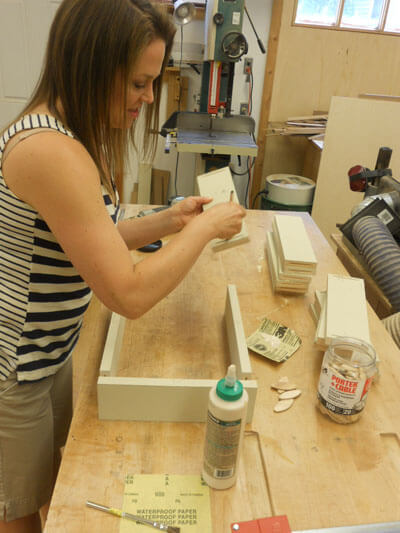
1. Add glue to the biscuit grooves.
2. Insert the biscuits into the grooves.
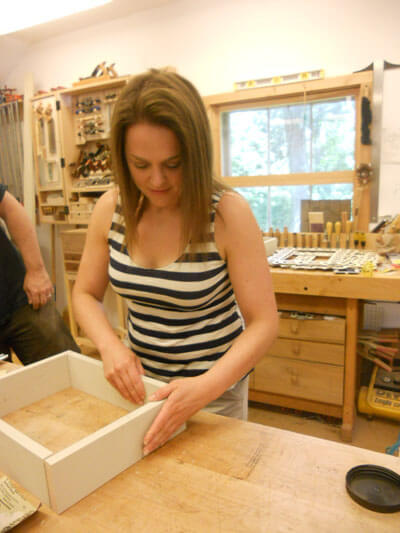
3. Assemble the box before the biscuits expand!
The final step in the box construction was to nail the corners for support. Had I done the assembly at my house, I could have put clamps on the boxes to support them while the glue dried, but since I was working in Mike’s shop and not about to take all of his clamps home with me, I used nails in lieu of clamps. By doing this, I got to go home with the boxes and I got to use another power tool!
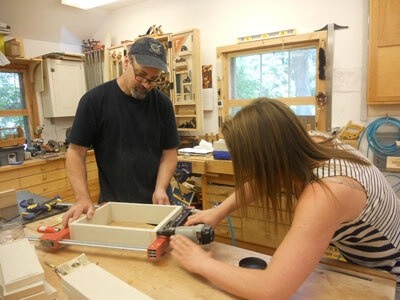
The final step: Nailing the corners for support. And that’s Mike!
And there you have it! The first part of my open box frame bookshelf project!
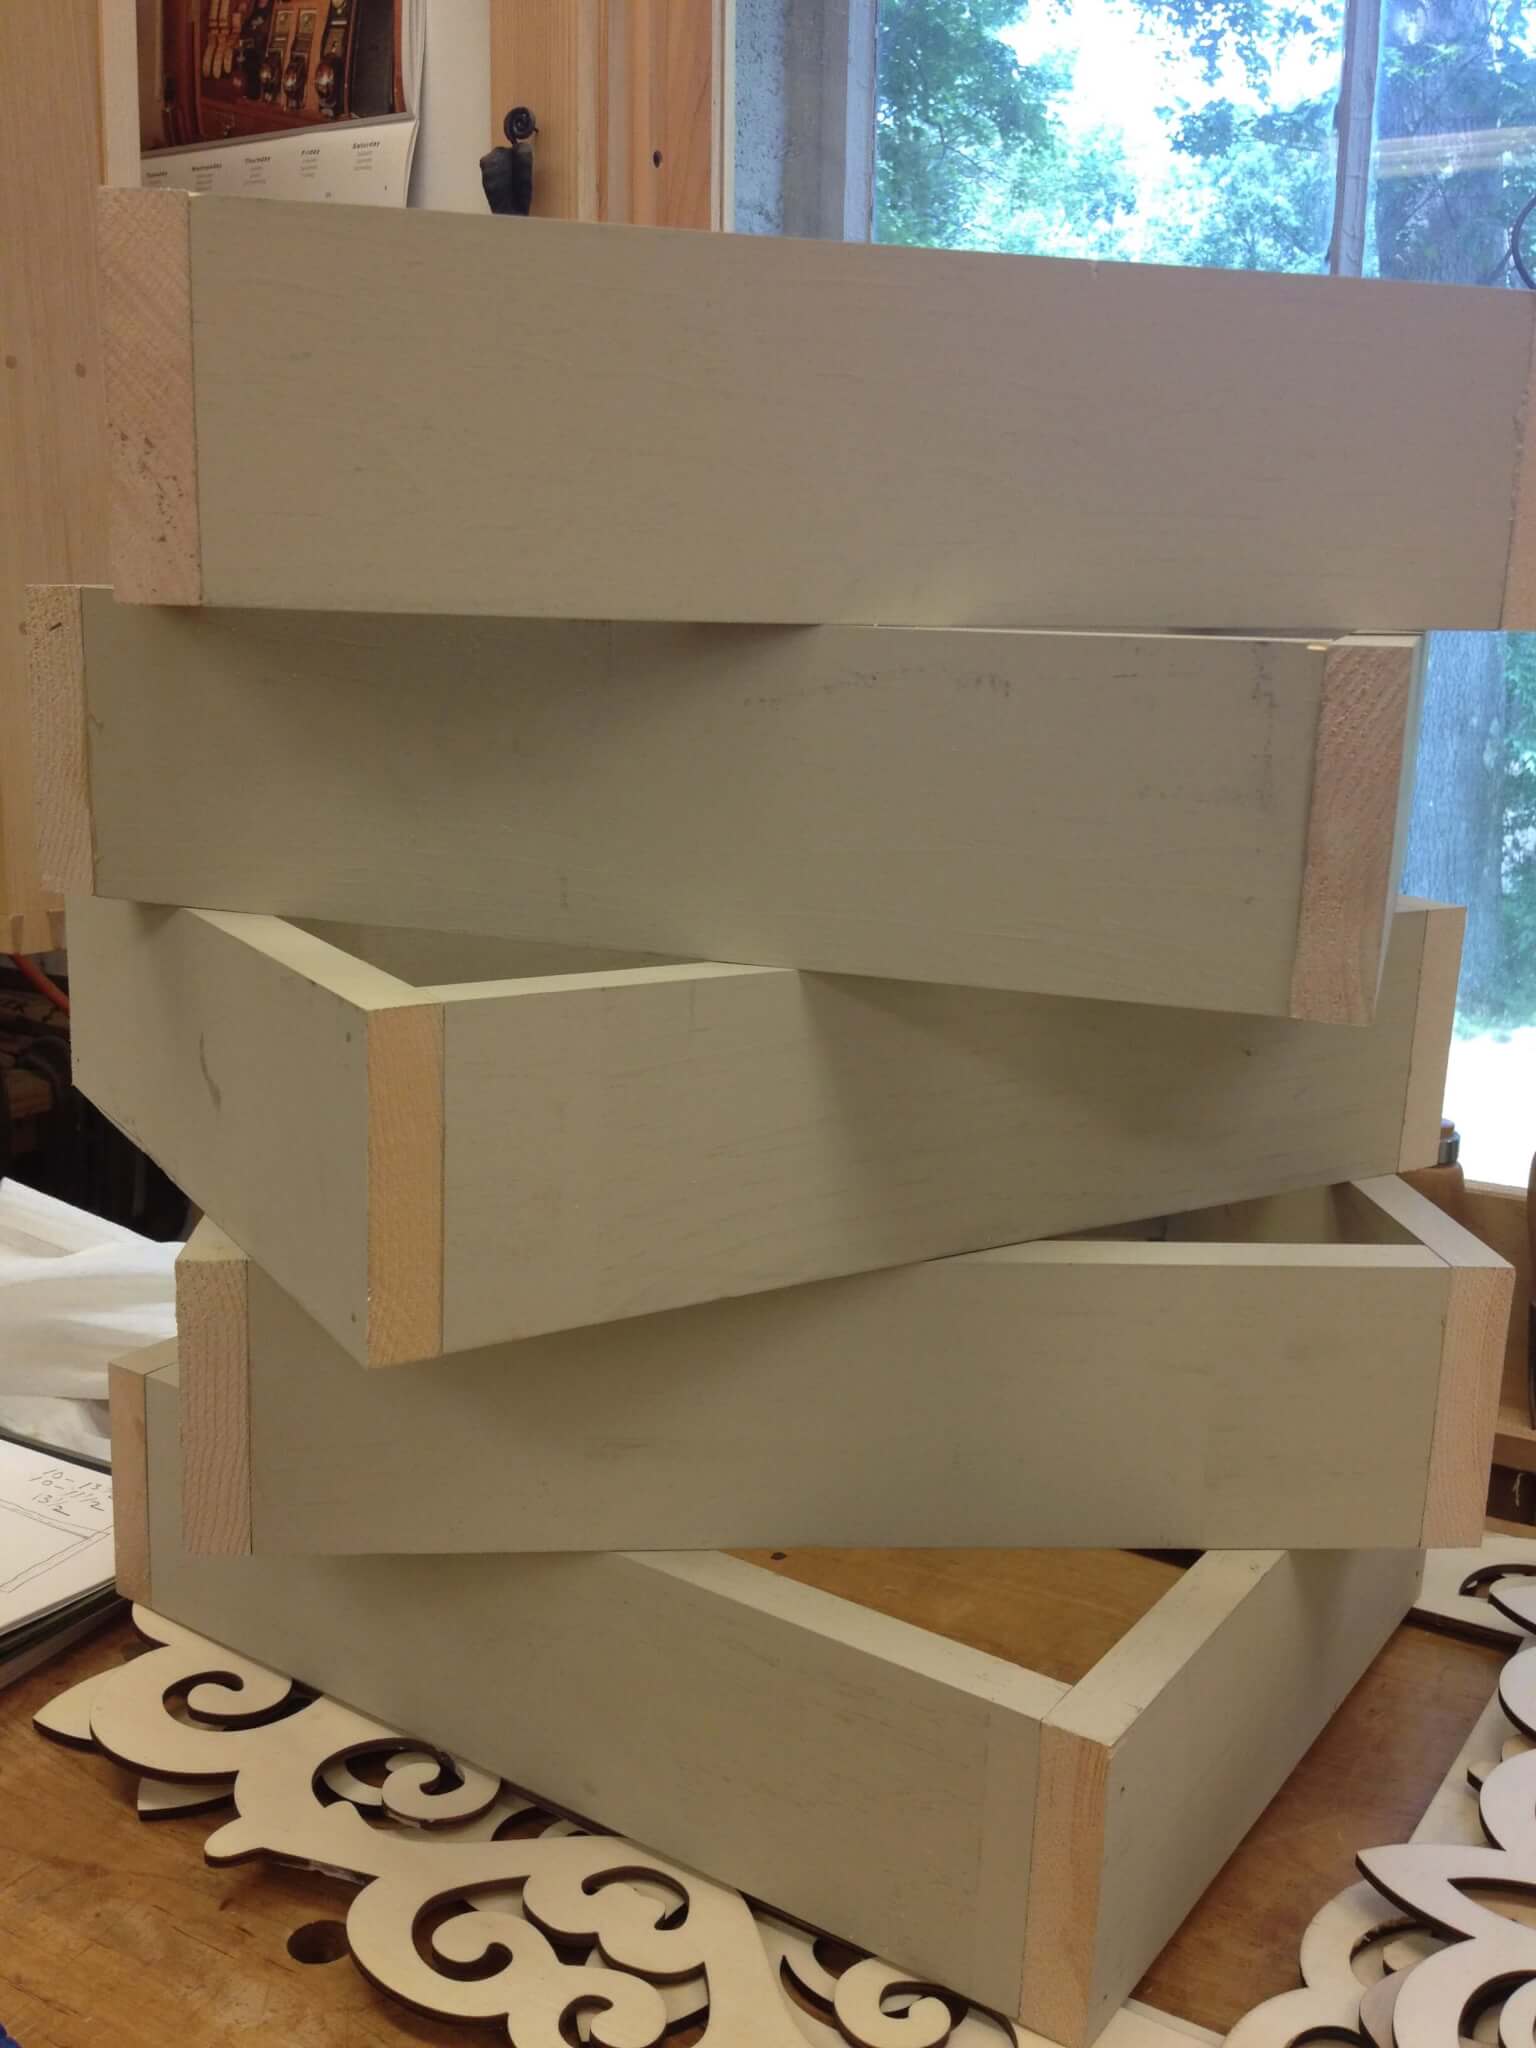
Step one, completed!
My next step is to paint the boxes and the frames, and the last step will be to attach the frame to the box and hang them on the wall. Stay tuned!

Up next: Painting these lovely frames!
Click here for part 2 of the project.
Click here to see the final product!
PS Did you know that I might have DIY skills, but my real expertise is as a Registered Dietitian, subscribing to a non-diet approach to wellness? Learn a bit more about it by exploring my “diet-free living” posts on my blog. Want to take a deeper dive? Download my FREE e-book, “The Inner Girl Power Challenge,” and kick the dieting habit for good!

Beth Rosen
Eating Attitudes™ & Gut Expert
Beth Rosen, MS, RD, CDN is a Registered Dietitian and owner of Beth Rosen Nutrition. She practices a non-diet philosophy and is a Health at Every Size" practitioner. Her goal is to end the pain of diet culture, one person at a time. Beth's techniques and programs empower chronic dieters, and those who consider themselves emotional and /or stress eaters, to ditch the vicious cycle of dieting, eat fearlessly by removing Food and diet rules, and mend their relationship with food and their bodies. Beth's works face-to-face with clients in Southbury, CT, and virtually with clients, worldwide.


